This article will show you how to back up your Facebook account using Backup4all. The backup will include: your profile information (contact information, interests, groups), wall posts and content that you and your friends have posted to your profile, photos and videos that you have uploaded to your account, your friends list, notes you have created, events to which you have responded, your sent and received messages, any comments that you and your friends have made on your wall posts, photos, and other profile content.
On this page:
- How to download your Facebook account information
- How to back up your Facebook account with Backup4all
Facebook users can download information they post on Facebook, including every image in the same sizes they were originally uploaded. You can not choose which data to download, so it’s all or nothing.
Images are downloaded into folders with names that correspond to what you named your online Facebook albums, but original photo file names are not retained.
How to download your Facebook account information
Follow these steps to download the Facebook files:
- Log into your Facebook account
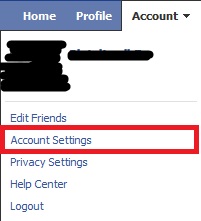
- Go to Account -> Account Settings
![backup Facebook backup Facebook]()
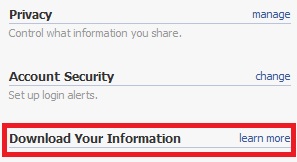
- Go to Download Your Information -> learn more
![backup Facebook backup Facebook]()
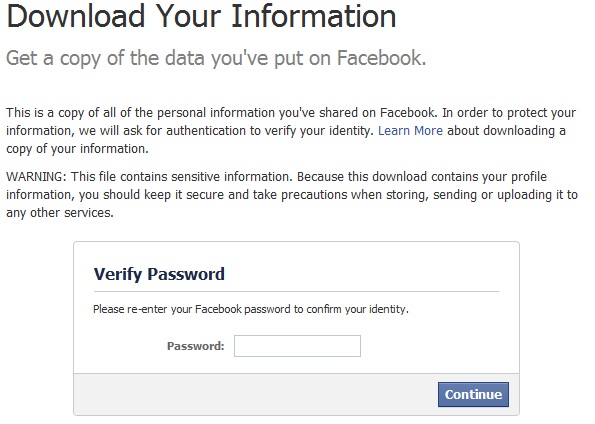
- You will be asked to verify the password
![backup Facebook backup Facebook]()
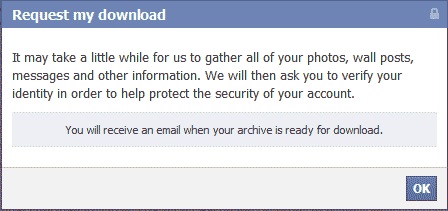
- The following message is a confirmation of download request. After that message is shown, you will receive an email with the download link.
![backup Facebook backup Facebook]()
- Save the Facebook files in a new folder on your computer.
How to back up your Facebook account with Backup4all
You need to create a new backup job in Backup4all and put the downloaded files into the backup sources list of this backup job.
Steps to follow:
- Open Backup4all and select File -> New (Ctrl+N).
- On the first page select a destination for the backup. Click Next.
- Press Add folder and select the new folder where you put the Facebook downloaded files. Press Next 4 times, until the last page of the wizard.
- Enter a name for the backup in the Backup name field.
- Click Save, then Save and run.


