

Leonovus is a software provider that offers storage solutions that untether your data, allowing you to embrace cloud storage securely, simply and cost-effectively while giving you the flexibility to deal with the ever-evolving cloud storage landscape.
On this page:
How to backup from LeoNovus
Steps to follow:
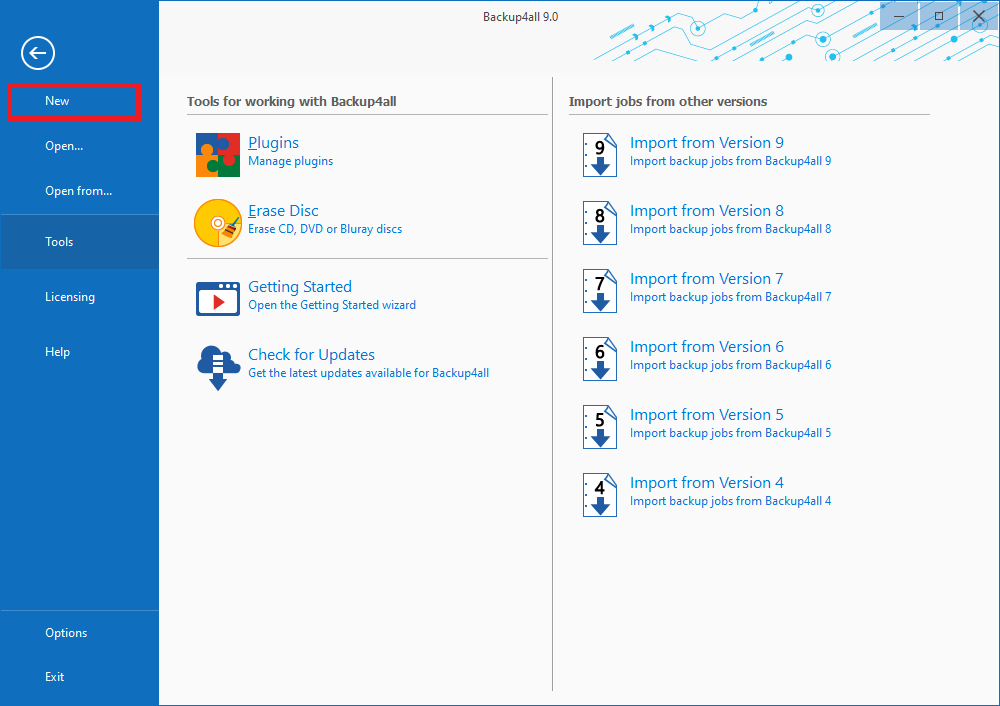
1. Open Backup4all and select File -> New (Ctrl+N).
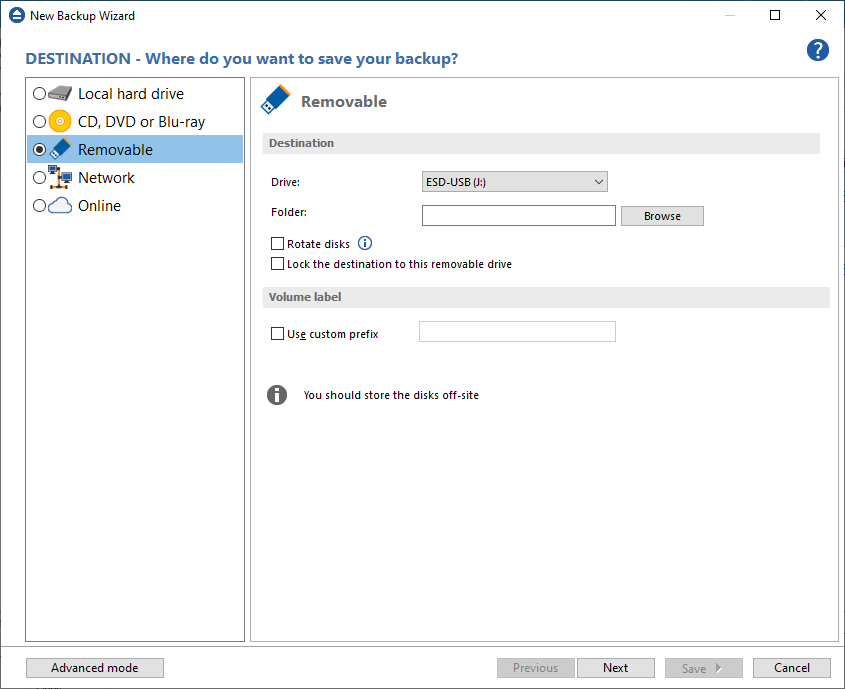
2. On the Where do you want to save the backup? page, select the backup destination you want to use. In this article we will use a Removable USB drive. Press Next
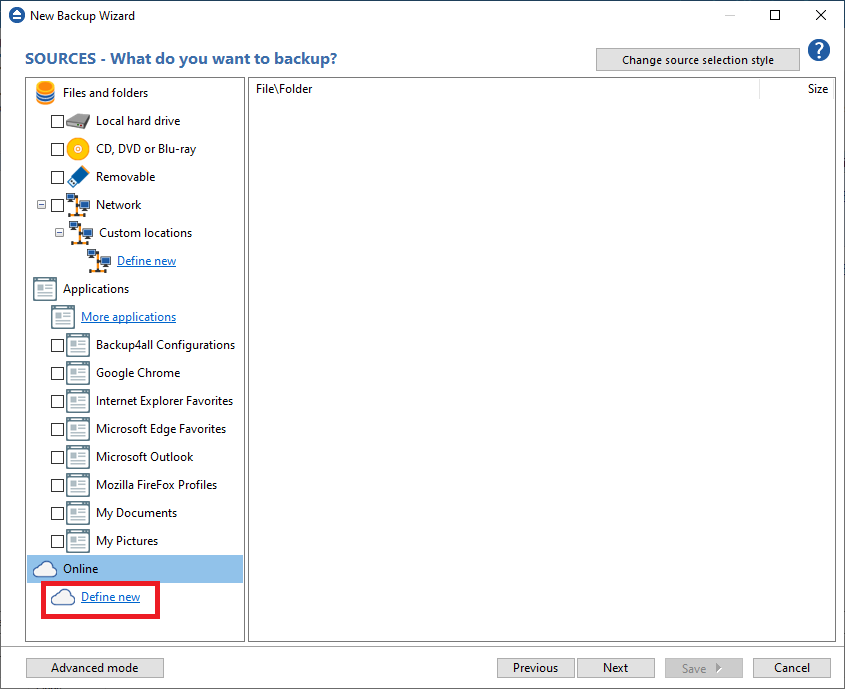
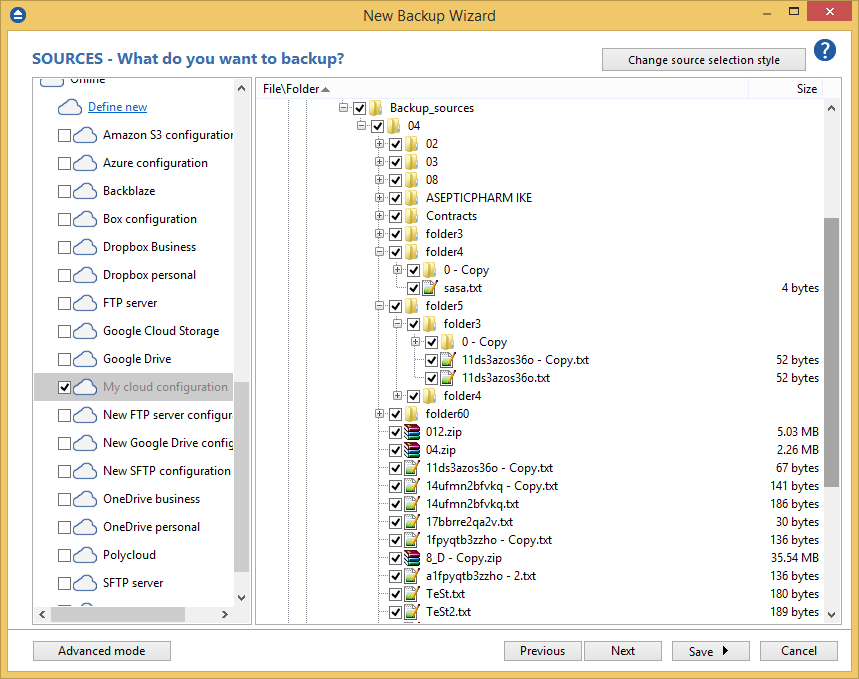
3. On the What do you want to backup page, add the backup sources from LeoNovus.
Under Online section, press Define new.
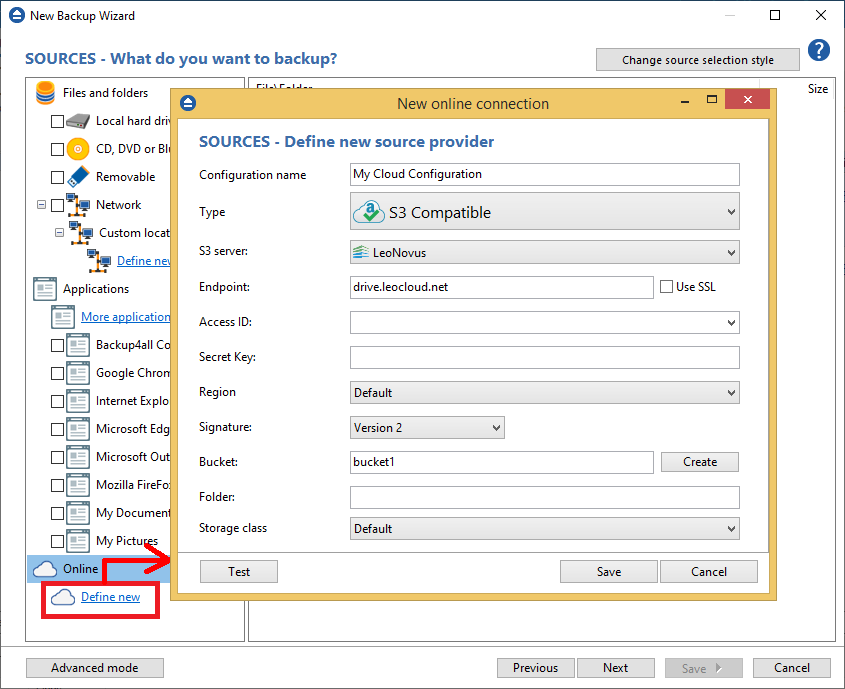
4. Type a name for this configuration. Enter the credentials for LeoNovus and press Test, to make sure everything is correctly configured. Then press Save
5. The new configuration will appear in the sources list. Select the files you want to back up. Press Next
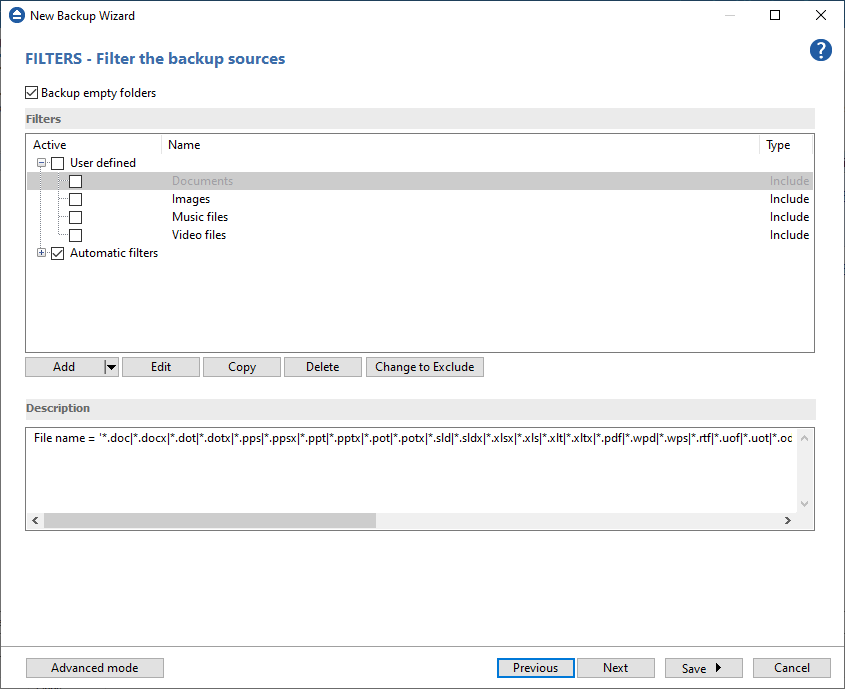
6. On the Filter the backup sources page, you can set include/exclude filters for backup sources. Then press Next.
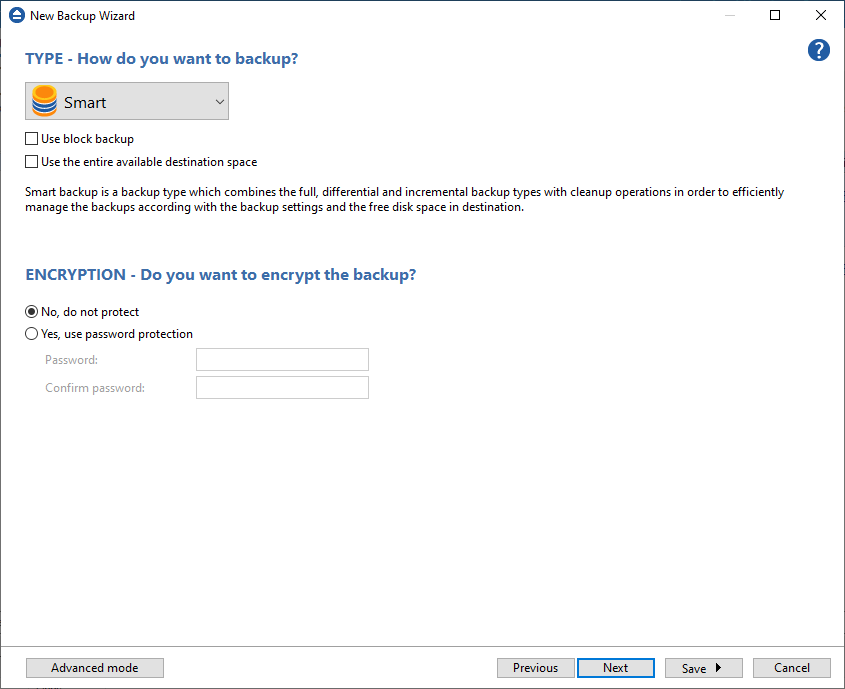
7. On the How do you want to backup page, you can choose the backup type and the encryption.
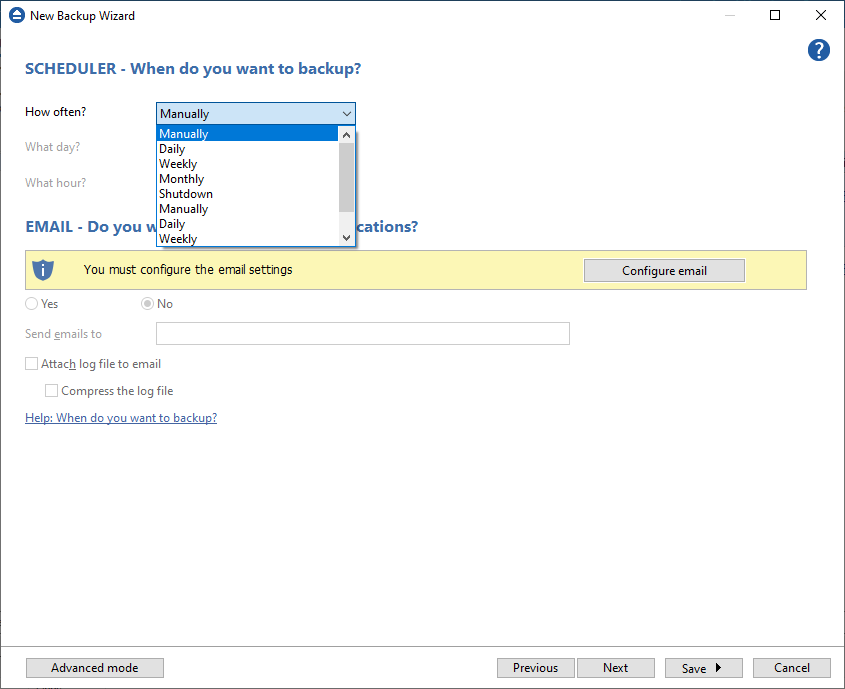
8. On the When do you want to backup page, you can set the backup job to automatically run on the specified time and days. Press Next.
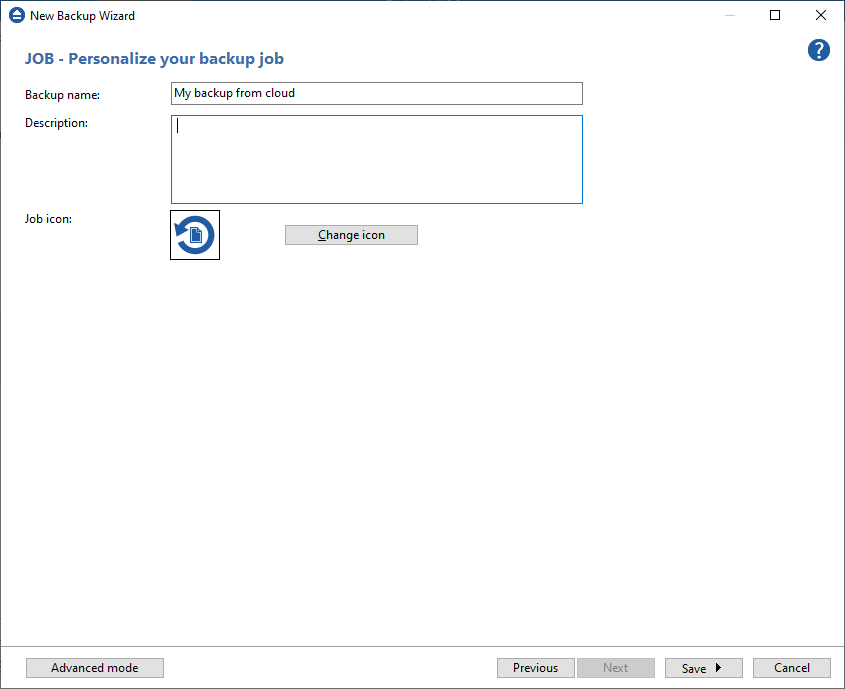
9. On the Personalize your backup job page, enter a name for the backup in the Backup name field.
10. Press Save -> Save and run
How to restore to LeoNovus
You can restore a backup to LeoNovus only if the original source location was LeoNovus.
Steps to follow:
1. If the backup job does not exist in Backup4all, you must open it from the backup destination, going to File->Open from.
2. Select Restore to original location.
3. If you select to restore from a specific version, press Next to indicate the version or the date you want to restore the files. Press Next
4. You can also filter the files before the restore.
5. Press Finish to start the restore process.