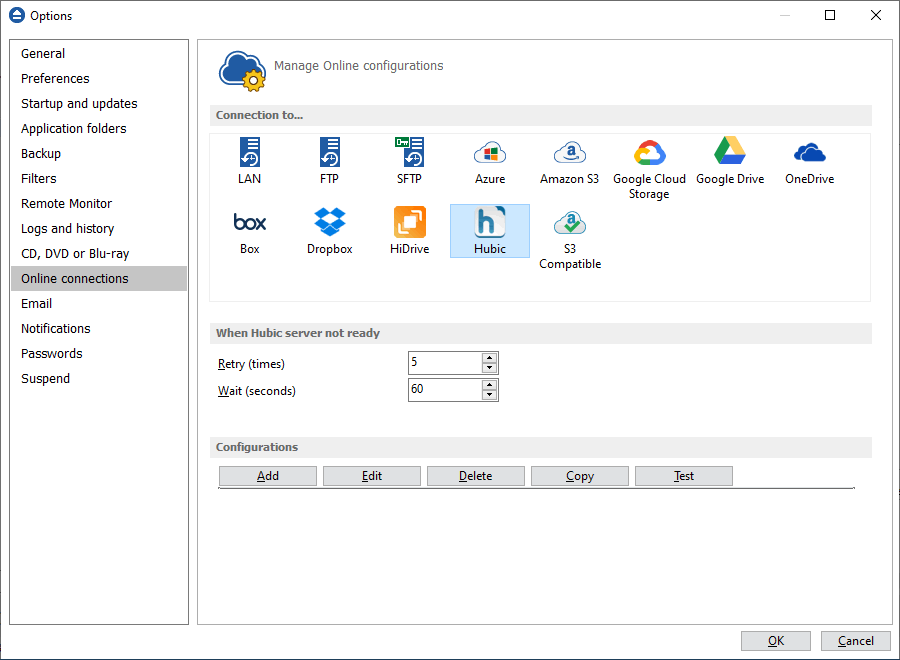
The Hubic page of the Options window (accessible from the File, Options->Online connections menu item) contains Hubic settings.

When Hubic server not ready
The first number (Retry option) indicates how many times the application tries to access the destination server if it is not available. By default this option is set to 5 attempts. The second number (wait option) indicates how many seconds to wait between two consecutive attempts to access the destination location. By default this option is set to 60 seconds. This option is useful when the destination Hubic server has restrictions (i.e. only 2 users logged in the same time, no. of accesses etc.) and insures that if the Hubic server cannot accept your connection, it will not be "hammered" by sending log-in requests frequently.
Configurations
The File->Options->Online connections->Hubic window allows you to define Hubic configurations that can be used on the Destination page in the New Backup Wizard or Backup Properties windows. You can add, edit, copy or delete a Hubic connection using this window.
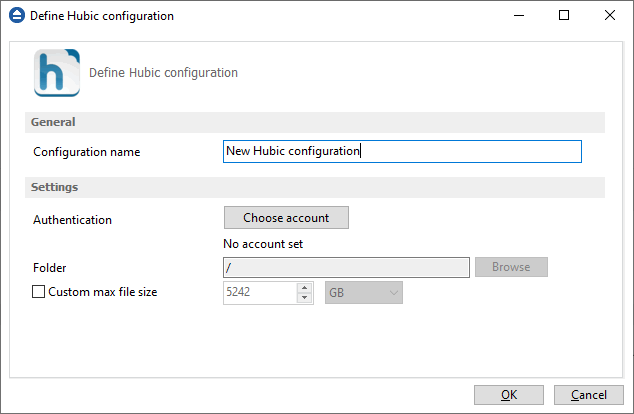
In order to add a new Hubic connection press the Add button. The Define Hubic configuration window will appear in the list and you can enter the other settings for this connection.

General
Configuration name
Enter here an arbitrary name for the connection. By default the New Hubic configuration name is assigned.
Settings
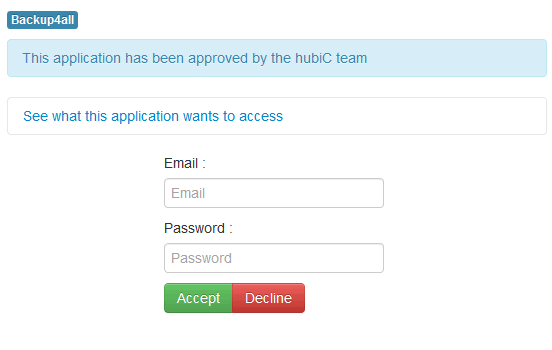
- Authentication - press "Choose account" button to log in to your Hubic account. Here you need to authorize Backup4all application to read and write files/folders in your Hubic account.

- Folder - In this field you have to select the folder where you want to store the backups. If no folder is selected the backup will be stored in the root of your Hubic account.
- Custom max file size - this option allows you to set a custom file size (by default is 5 GB). It is useful if you don't want large files to be split on upload.
Note: If you configured a new Hubic location or you edit an existing one, you should use the Test button to see if the Hubic settings are correct. If the test was successful, The Hubic connection was tested successfully message will be displayed.


