

Revera is a cloud services provider from New Zealand. The have different products, such as c-Stack - an online productivity tool, Apollo - a service that brings Microsoft's Azure platforms closer to home, and Vault, which takes care of big data and features ridiculously low GB/month rates.
Revera's Vault service features low starting costs, delegated data management, dispersed cloud storage on three data centers, and finally, locality, since it's offering offshore storage services, like Amazon S3, directly from its cloud environment.
Backup4all can access your Revera storage through the S3 Compatible protocol.
How to set up a new Revera account
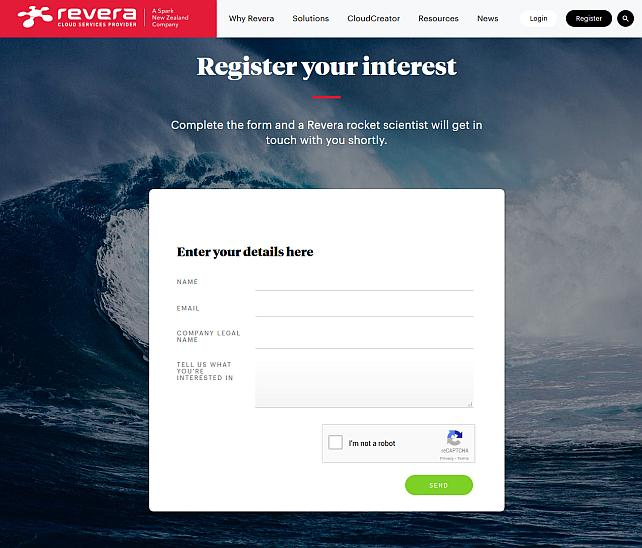
Go to https://www.revera.co.nz/register to contact a rocket scientist and get started.
How to backup to Revera
Steps to follow:
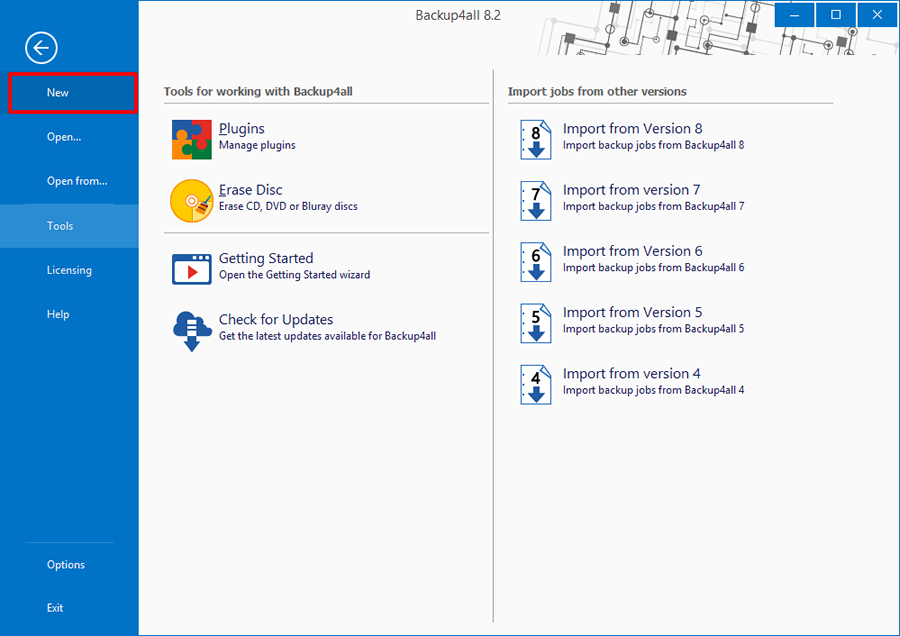
- Open Backup4all and select File -> New (Ctrl+N).
![]()
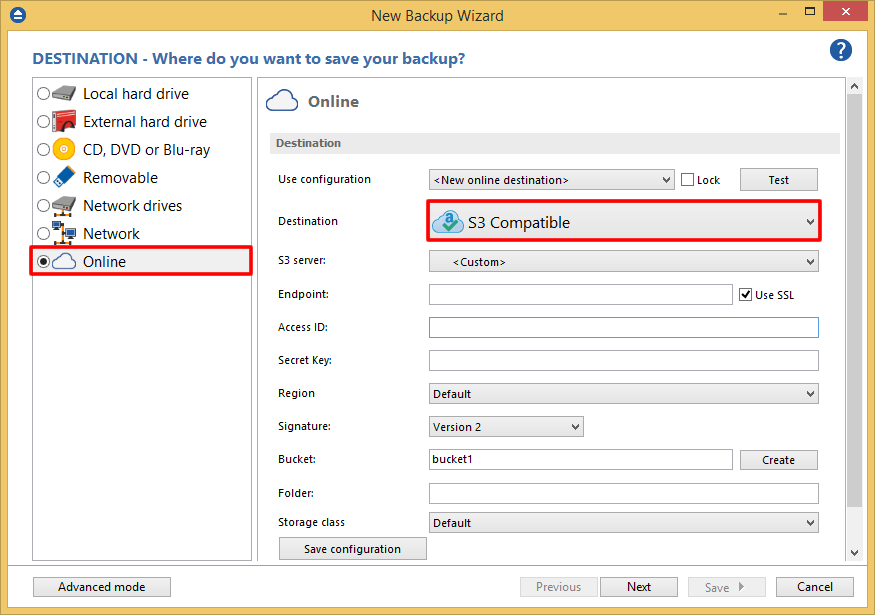
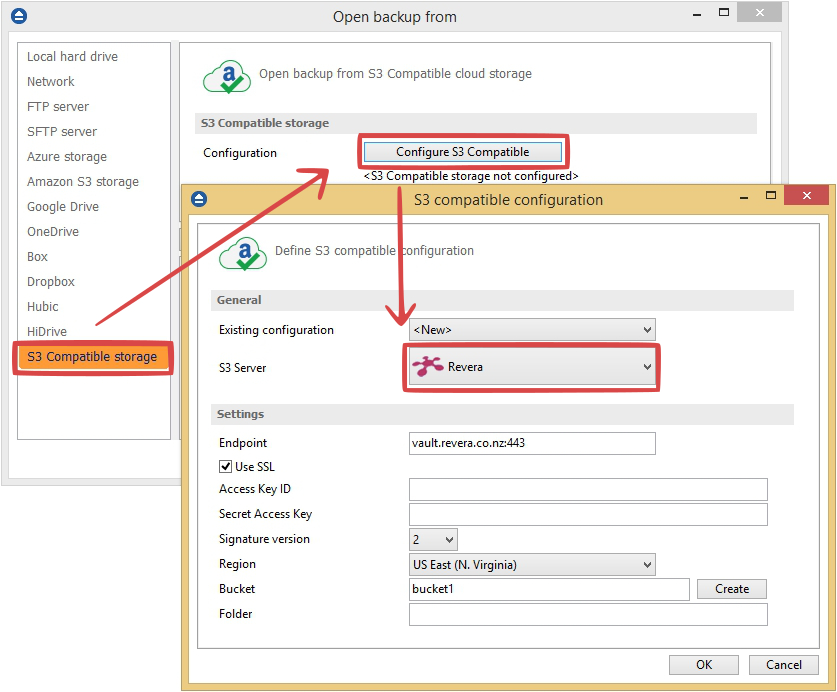
- On the Where do you want to save the backup? page, select Online -> S3 Compatible as backup destination.
- After selecting S3 Compatible, you need to choose the S3 server. Some of the settings will be filled in, just enter the other credentials. Then press Next.
![]()
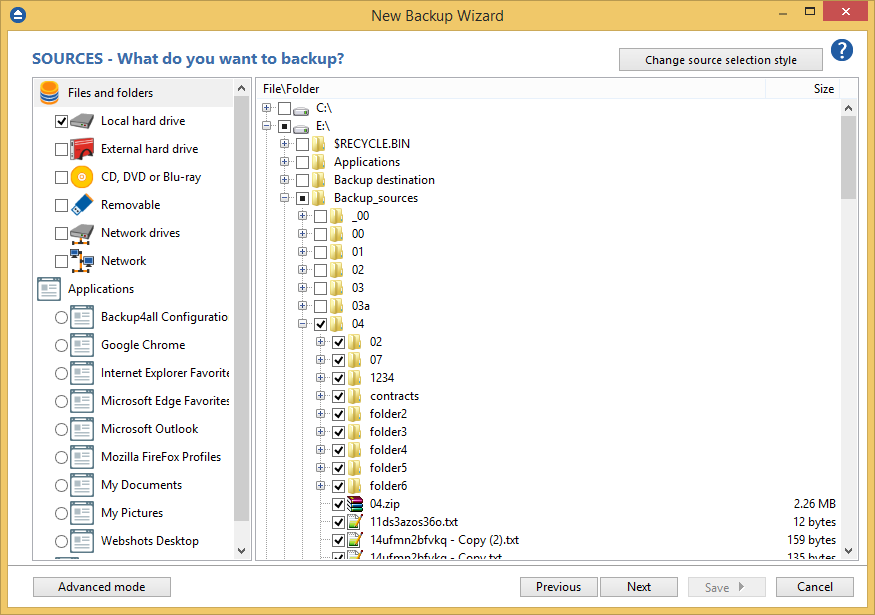
- On the What do you want to backup page, add the backup sources. Press Next.
![]()
- On the Filter the backup sources page, you can set include/exclude filters for backup sources. Then press Next.
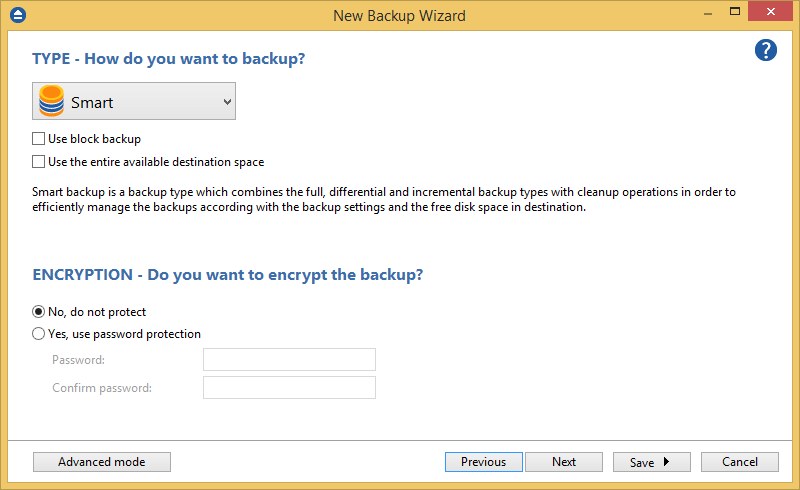
- On the How do you want to backup page, you can choose the backup type and the encryption.
![]()
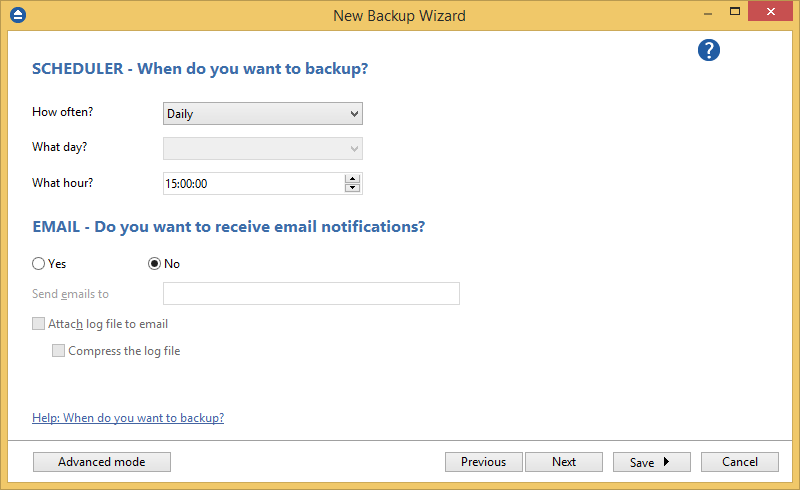
- On the When do you want to backup page, you can set the backup job to automatically run on the specified time and days. Press Next.
![]()
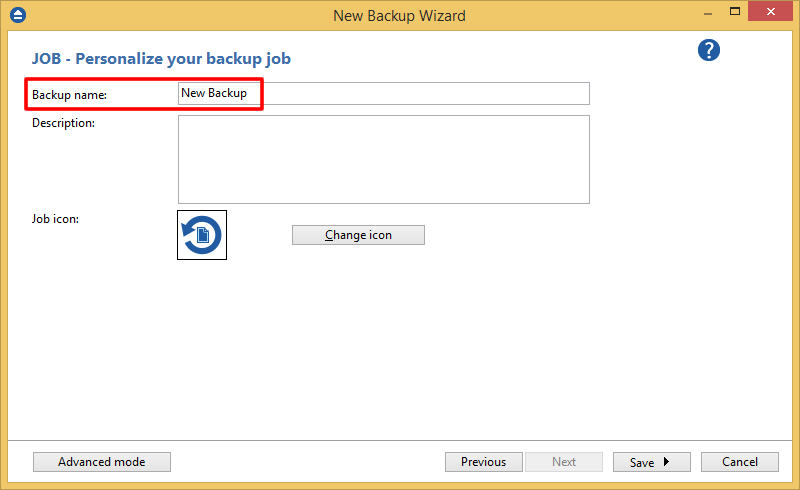
- On the Personalize your backup job page, enter a name for the backup in the Backup name field.
![]()
- Press Save -> Save and run
How to restore from Revera
Steps to follow:
1. If the backup job does not exist in Backup4all, you must open it from File->Open from.
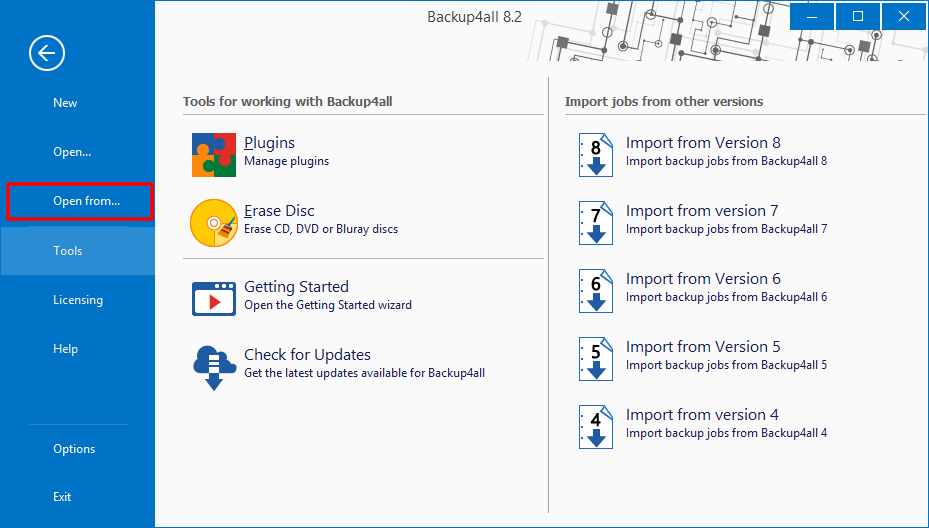
2. Select S3 Compatible, then choose Revera. Configure the Revera account.
3. After the Revera account was set, press Show to display the backup jobs in the destination. Select the catalog you want to open and press Open. Backup4all will recreate that backup job.
4. Press the Restore (F7) button. Optionally you can select the location you want to restore the files to. The original location is selected by default.
On the same page, you can choose the way in which to restore. You can also filter files before restoring. If you select to restore from a specific version, press Next to indicate the version or the date back to which you want to restore. Press Next.
5. Press Finish to start the restoration process.