CenturyLink is third largest telecommunications company in America. Besides communications and Internet access, the CenturyLink Cloud service caters to small and big businesses alike.
The CenturyLink Cloud consists of several cloud services that provide cost elasticity. It implements reliable and high-performance hardware, coupled with a highly customizable and intuitive interface that can control automated backups and failure recovery.
Backup4all can access your CenturyLink storage through the S3 Compatible protocol.
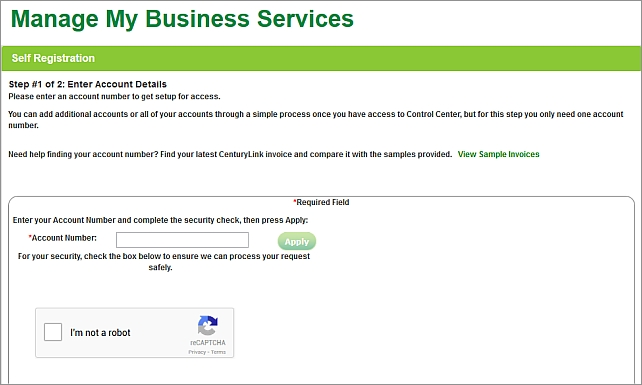
To register for a CenturyLink Cloud service, you will need a CenturyLink client number.
How to set up a new CenturyLink account
To create a new CenturyLink account, please follow these steps:
2. Follow the steps to create a new account.
How to backup to CenturyLink
Steps to follow:
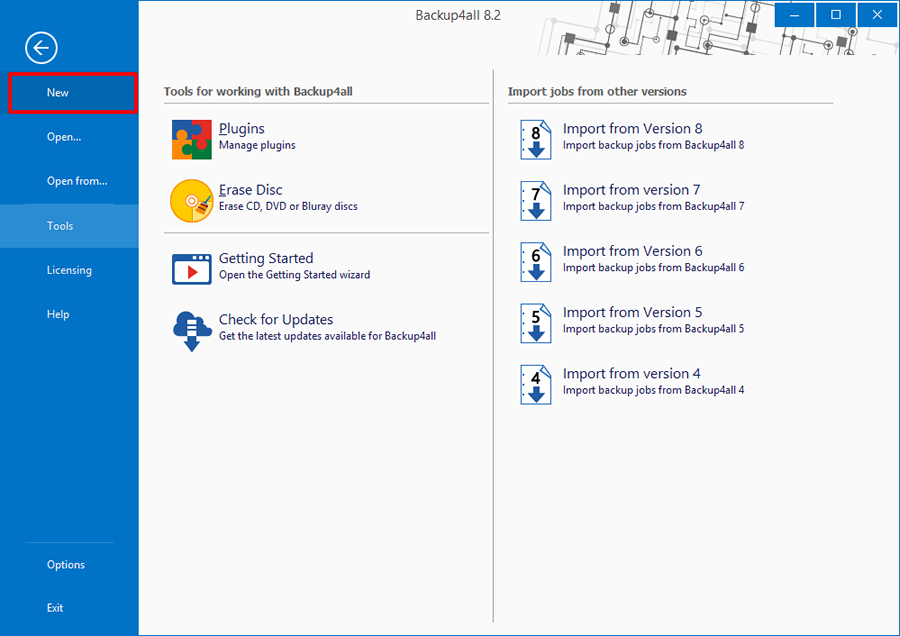
1. Open Backup4all and select File -> New (Ctrl+N).
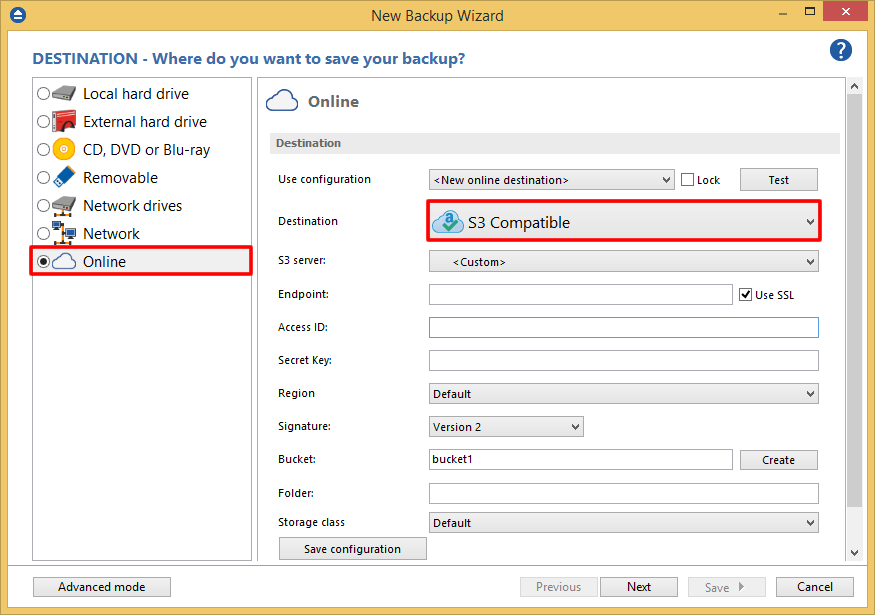
2. On the Where do you want to save the backup? page, select Online -> S3 Compatible as backup destination.
3. After selecting S3 Compatible, you need to choose the S3 server. Some of the settings will be filled in, just enter the other credentials. Then press Next.
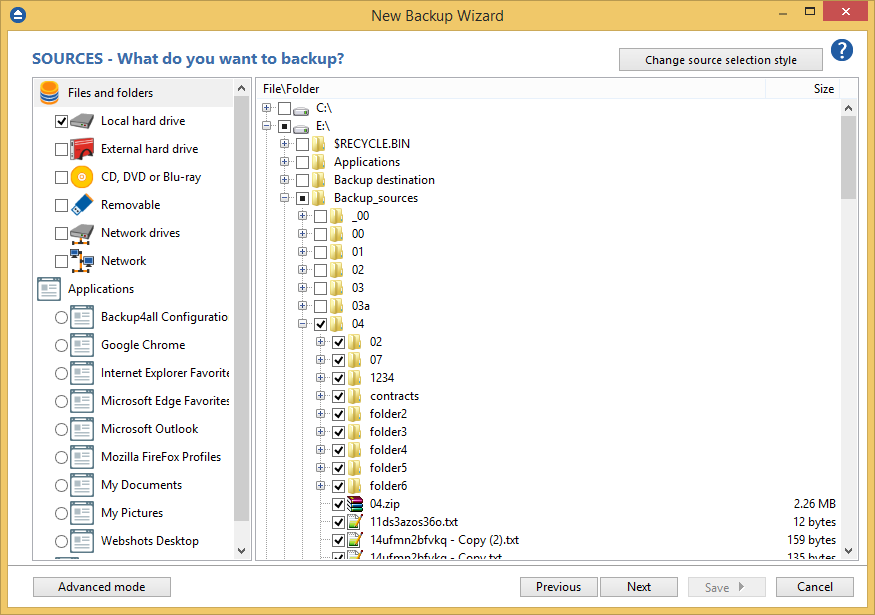
4. On the What do you want to backup page, add the backup sources. Press Next.
5. On the Filter the backup sources page, you can set include/exclude filters for backup sources. Then press Next.
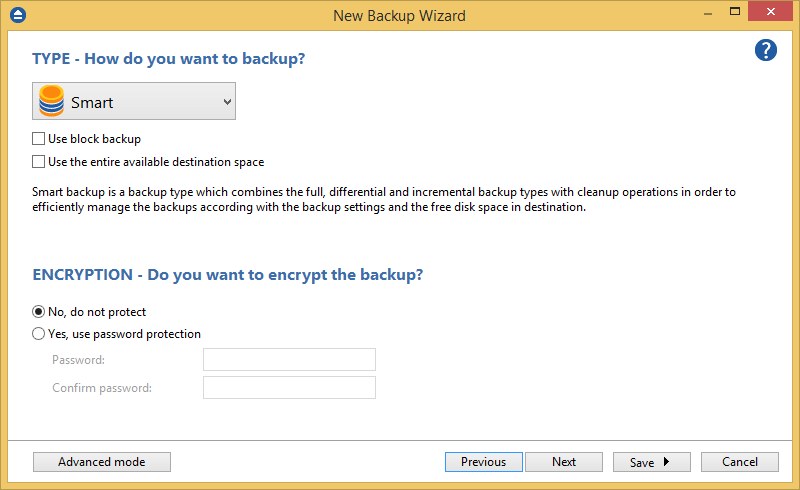
6. On the How do you want to backup page, you can choose the backup type and the encryption.
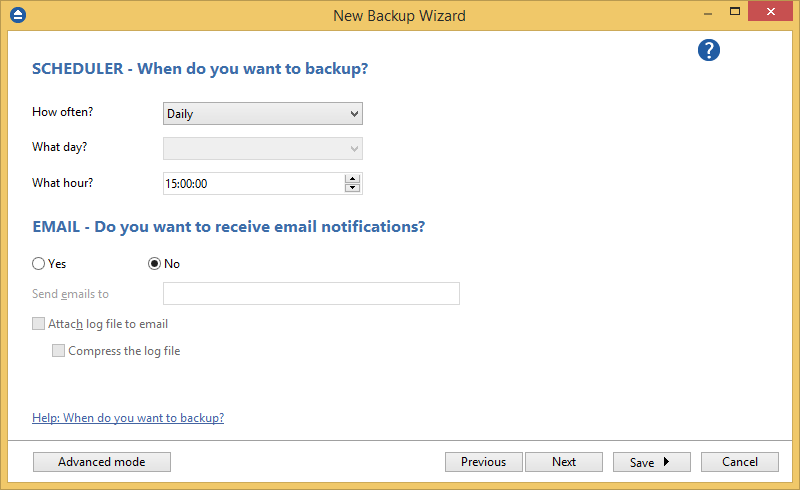
7. On the When do you want to backup page, you can set the backup job to automatically run on the specified time and days. Press Next.
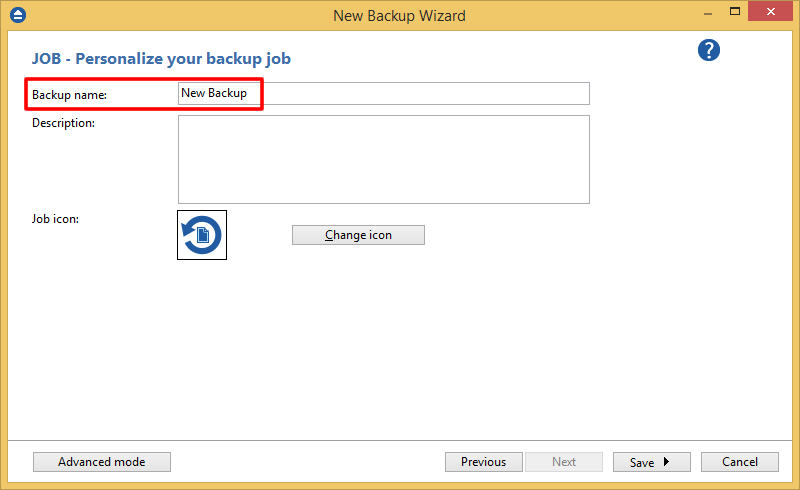
8. On the Personalize your backup job page, enter a name for the backup in the Backup name field.
9. Press Save -> Save and run
How to restore from CenturyLink
Steps to follow:
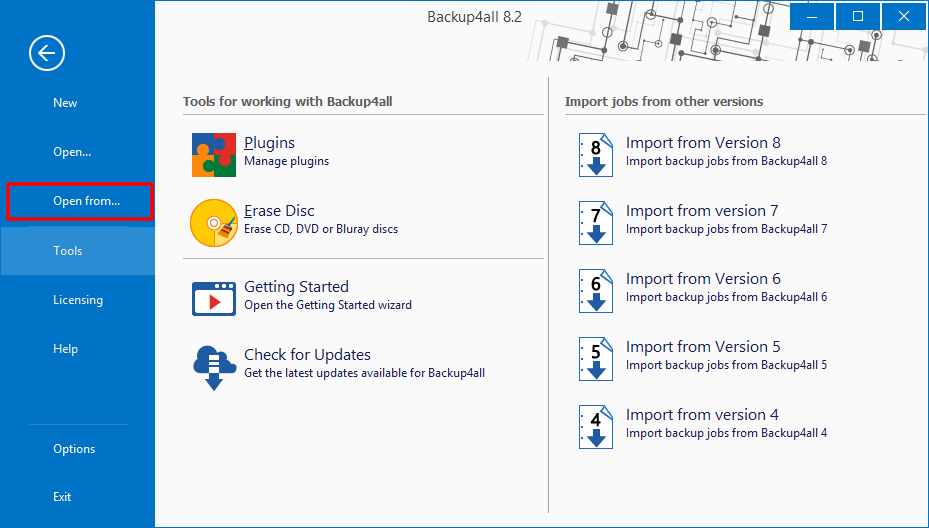
1. If the backup job does not exist in Backup4all, you must open it from File->Open from.
2. Select S3 Compatible, then choose CenturyLink. Configure the CenturyLink account.
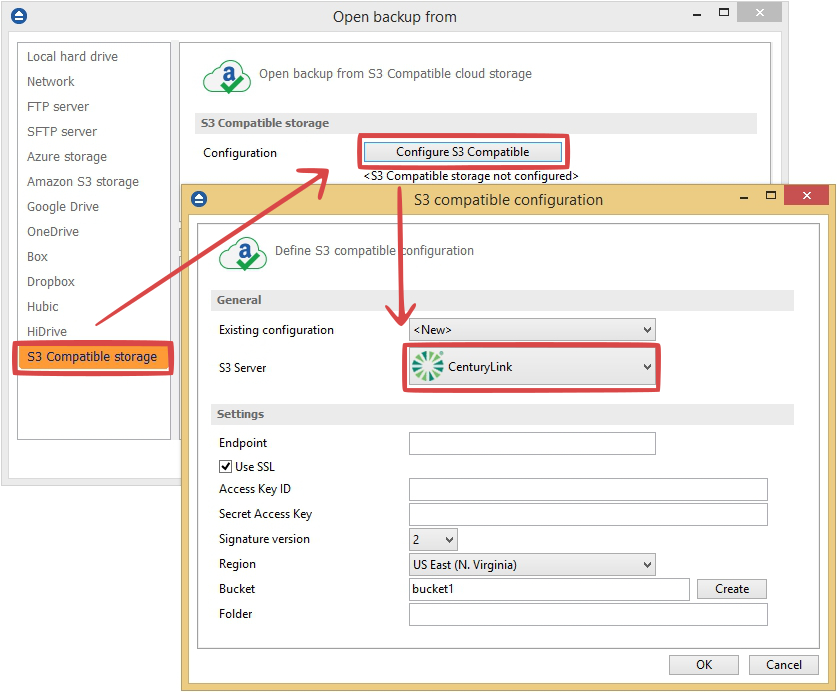
3. After the CenturyLink account was set, press Show to display the backup jobs in the destination. Select the catalog you want to open and press Open. Backup4all will recreate that backup job.
4. Press the Restore (F7) button. Optionally you can select the location you want to restore the files to. The original location is selected by default.
On the same page, you can choose the way in which to restore. You can also filter files before restoring. If you select to restore from a specific version, press Next to indicate the version or the date back to which you want to restore. Press Next.
5. Press Finish to start the restoration process.


