DreamObjects is an inexpensive object storage dreamObjects offered by DreamHost. It caters to small businesses and private individuals.
The DreamObjects storage DreamObjects operates on open source software. The storage medium is S3 compatible and fully scalable. Support is available 27/7 through chat & email. DreamHost also offers a thirty-day free trial.
Backup4all can access your dreamObjects storage through the S3 Compatible protocol.
How to set up a new DreamObjects account
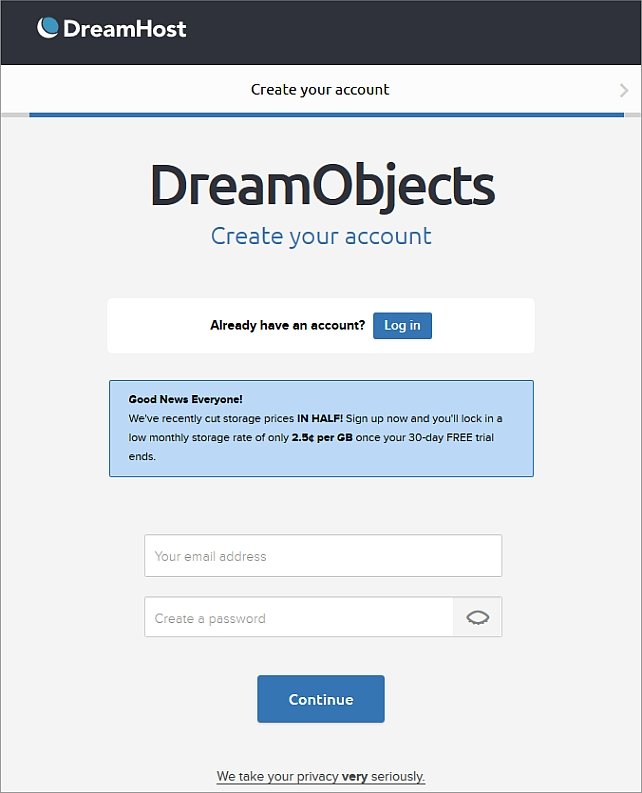
1. Go to \https://signup.dreamhost.com/objects/email/ to request quotes and get started.
How to backup to DreamObjects
Steps to follow:
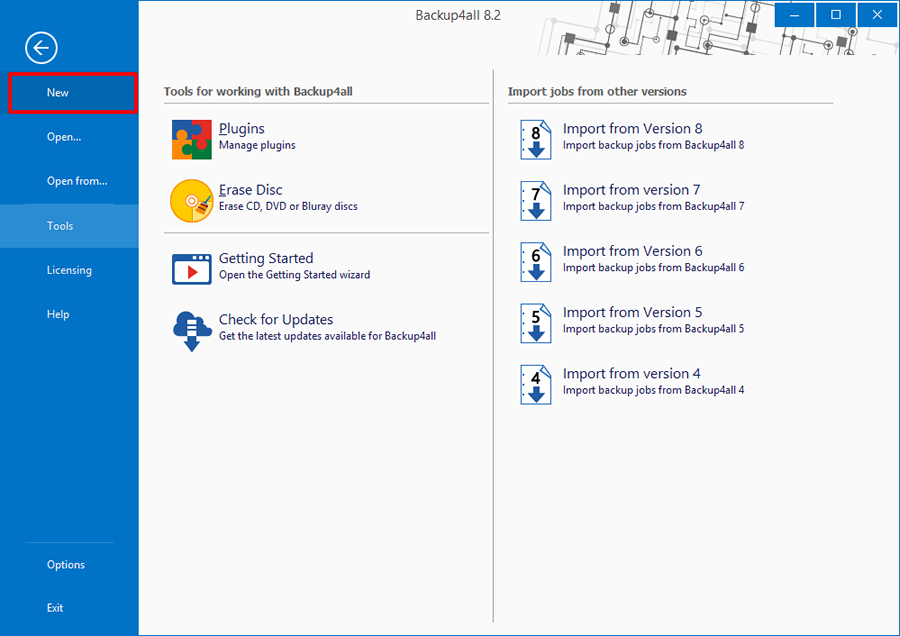
1. Open Backup4all and select File -> New (Ctrl+N).
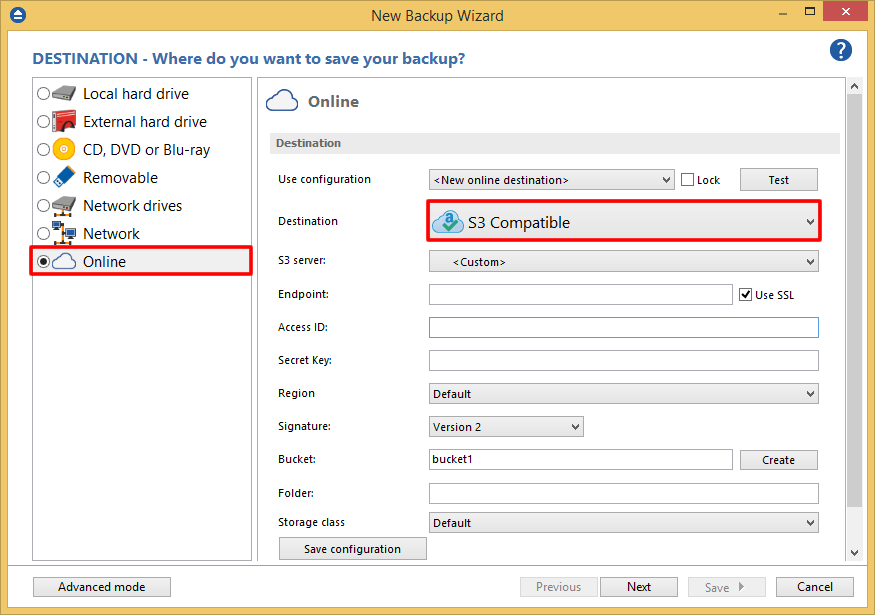
2. On the Where do you want to save the backup? page, select Online -> S3 Compatible as backup destination.
3. After selecting S3 Compatible, you need to choose the S3 server. Some of the settings will be filled in, just enter the other credentials. Then press Next.
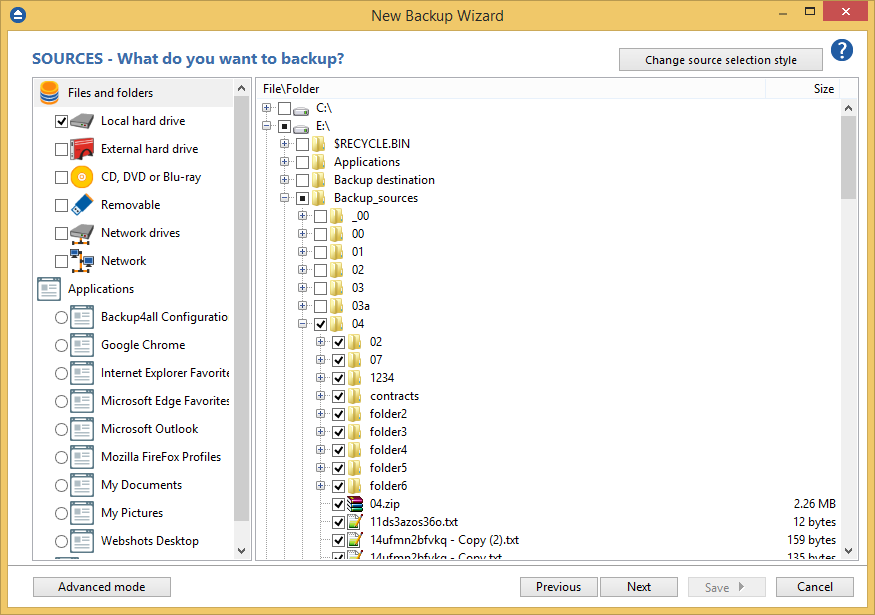
4. On the What do you want to backup page, add the backup sources. Press Next.
5. On the Filter the backup sources page, you can set include/exclude filters for backup sources. Then press Next.
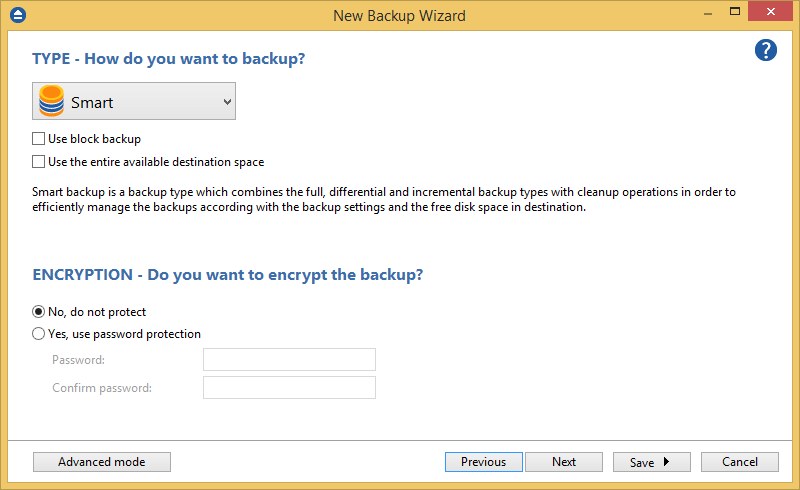
6. On the How do you want to backup page, you can choose the backup type and the encryption.
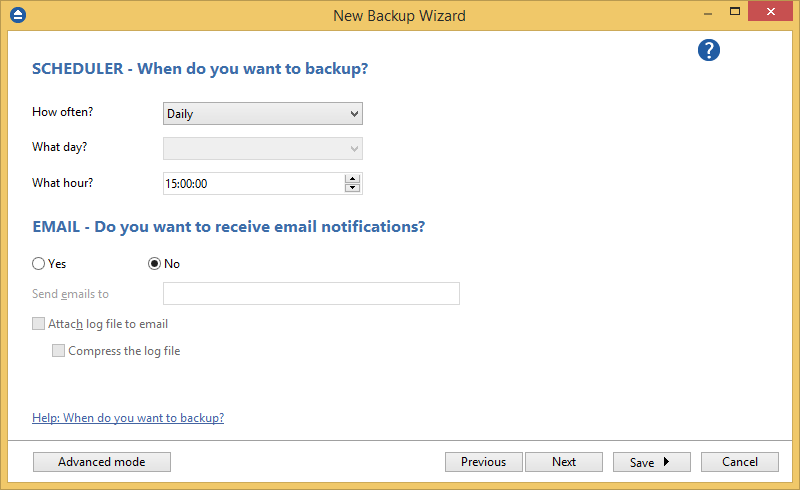
7. On the When do you want to backup page, you can set the backup job to automatically run on the specified time and days. Press Next.
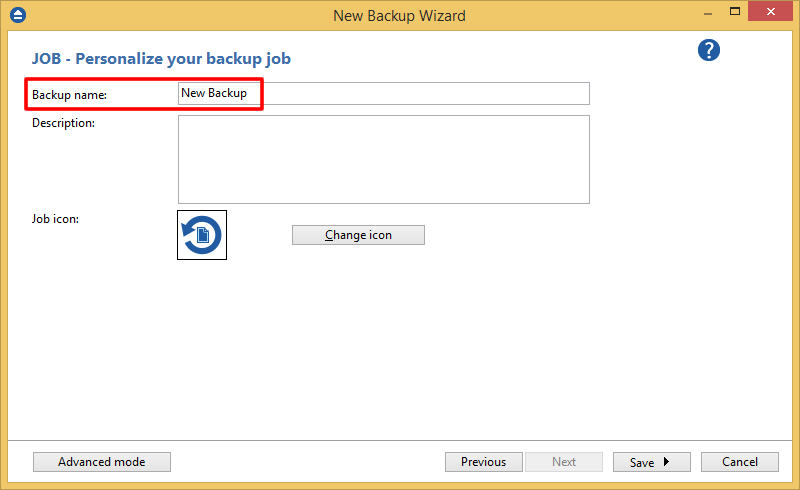
8. On the Personalize your backup job page, enter a name for the backup in the Backup name field.
9. Press Save -> Save and run
How to restore from DreamObjects
Steps to follow:
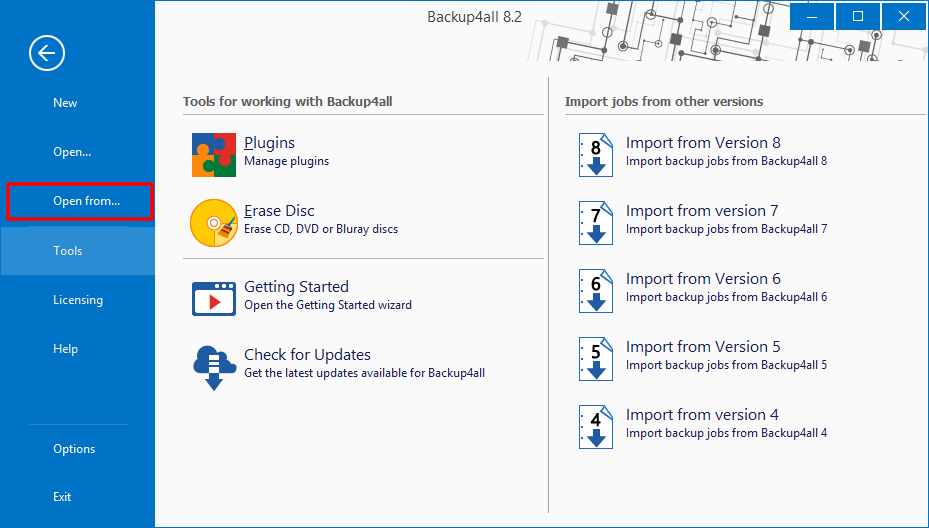
1. If the backup job does not exist in Backup4all, you must open it from File->Open from.
2. Select S3 Compatible, then choose DreamObjects. Configure the DreamObjects account.
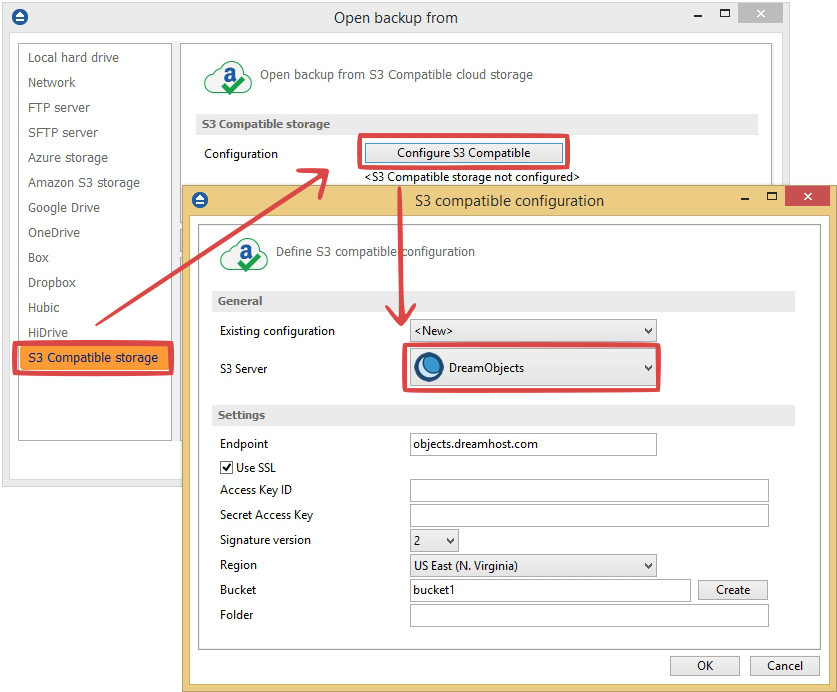
3. After the DreamObjects account was set, press Show to display the backup jobs in the destination. Select the catalog you want to open and press Open. Backup4all will recreate that backup job.
4. Press the Restore (F7) button. Optionally you can select the location you want to restore the files to. The original location is selected by default.
On the same page, you can choose the way in which to restore. You can also filter files before restoring. If you select to restore from a specific version, press Next to indicate the version or the date back to which you want to restore. Press Next.
5. Press Finish to start the restoration process.


