This article explains how you can define a backup job in Backup4all that will back-up your data from Microsoft Azure.
The Azure cloud platform has more than 200 products and cloud services designed to help you bring new solutions to life - to solve today’s challenges and create the future. Build, run, and manage applications across multiple clouds, on-premises, and at the edge, with the tools and frameworks of your choice.
Azure is a Microsoft service and thus a very reliable destination for your cloud backups. You can easily configure Backup4all to back-up your data to Microsoft Azure but just as well you can configure it to back-up your data from Azure (i.e. in case you'd like to duplicate that onto another cloud service).
How to backup from Azure
Below are the steps you can follow to define a backup job in Backup4all that will back-up files from Microsoft Azure:
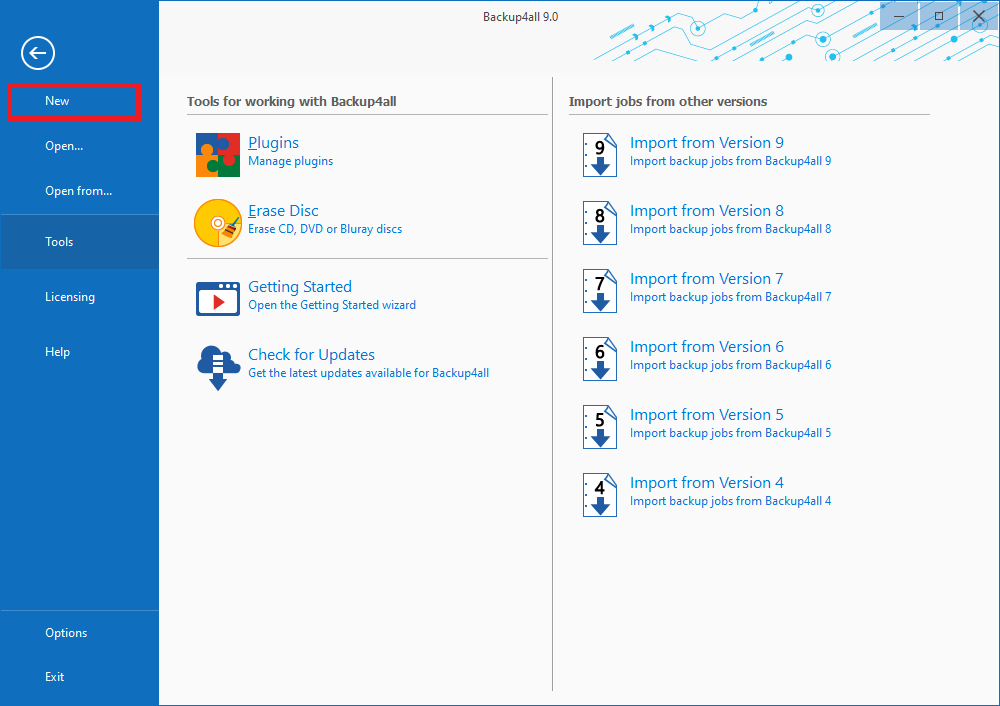
- Open Backup4all and select File -> New (Ctrl+N).
![Open Backup4all Open Backup4all]()
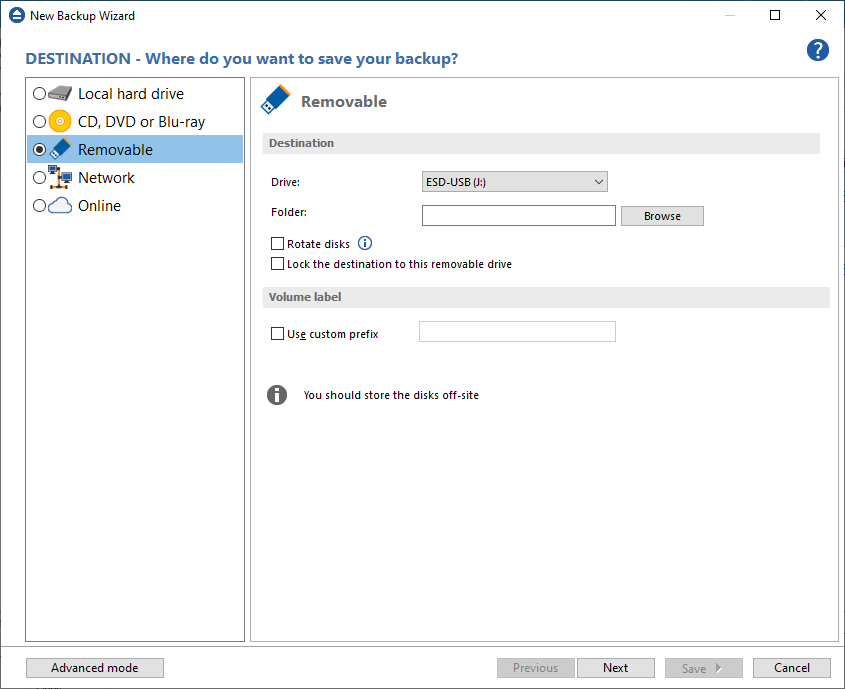
- On the Where do you want to save the backup? page, select the backup destination you want to use. In this article we will use a Removable USB drive. Press Next.
![New backup wizard - Step 1 New backup wizard - Step 1]()
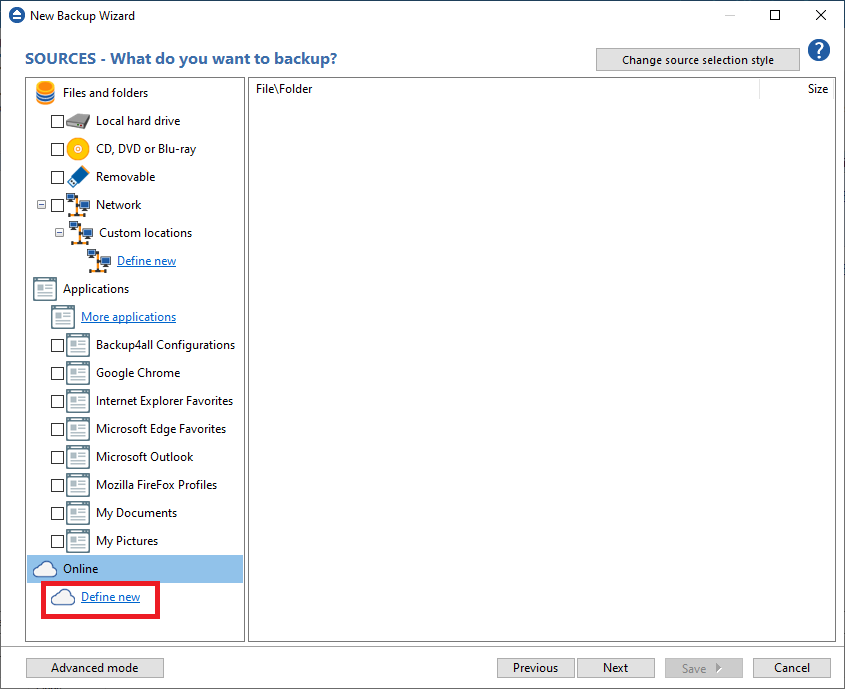
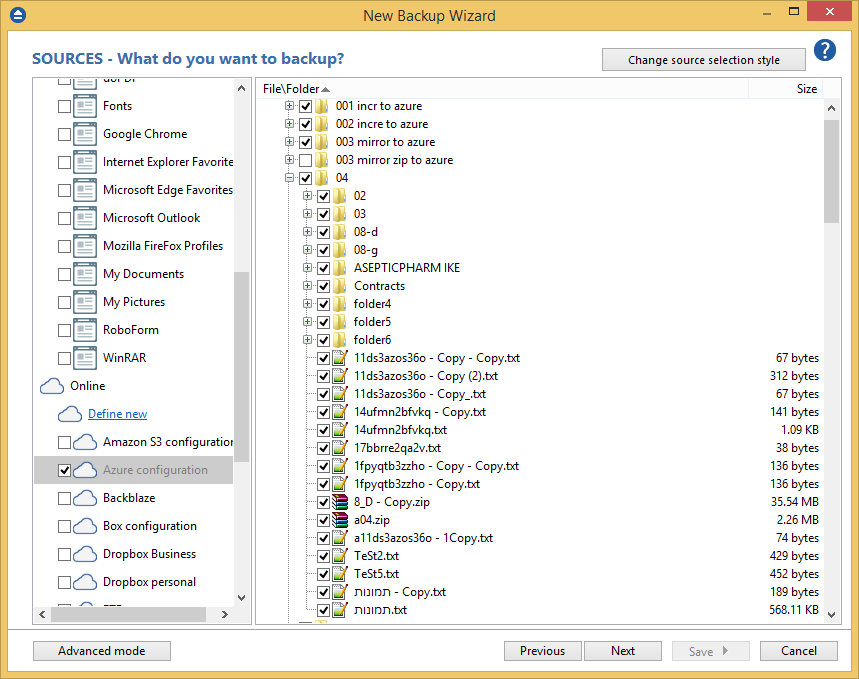
- On the What do you want to backup page, add the backup sources from Azure. Under Online section, press Define new.
![Define new online connection Define new online connection]()
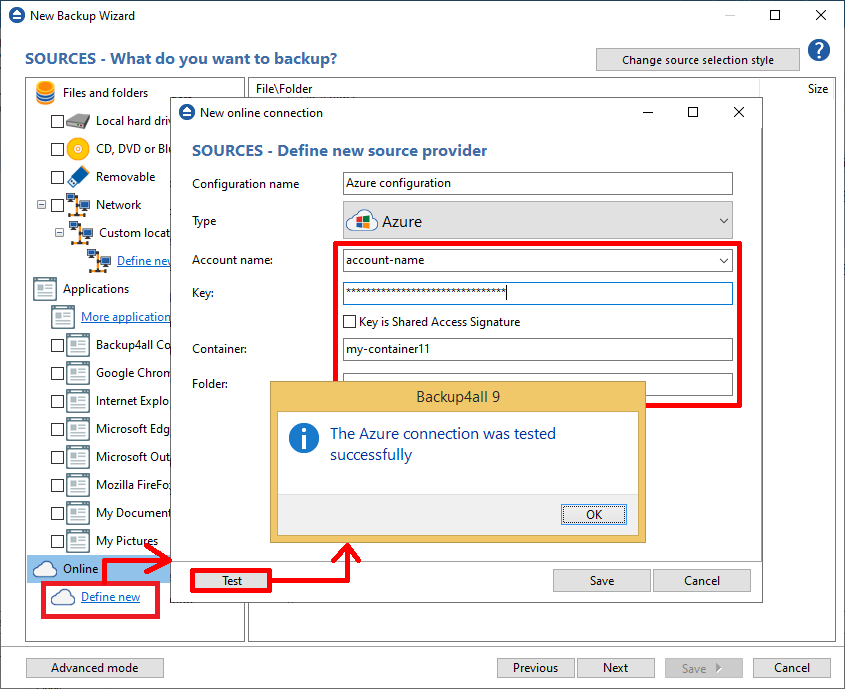
- Type a name for this configuration. Enter the credentials for Azure and press Test, to make sure everything is correctly configured. Then press Save.
![Add a name Add a name]()
- The new configuration will appear in the sources list. Select the files you want to back up. Press Next.
![Select files Select files]()
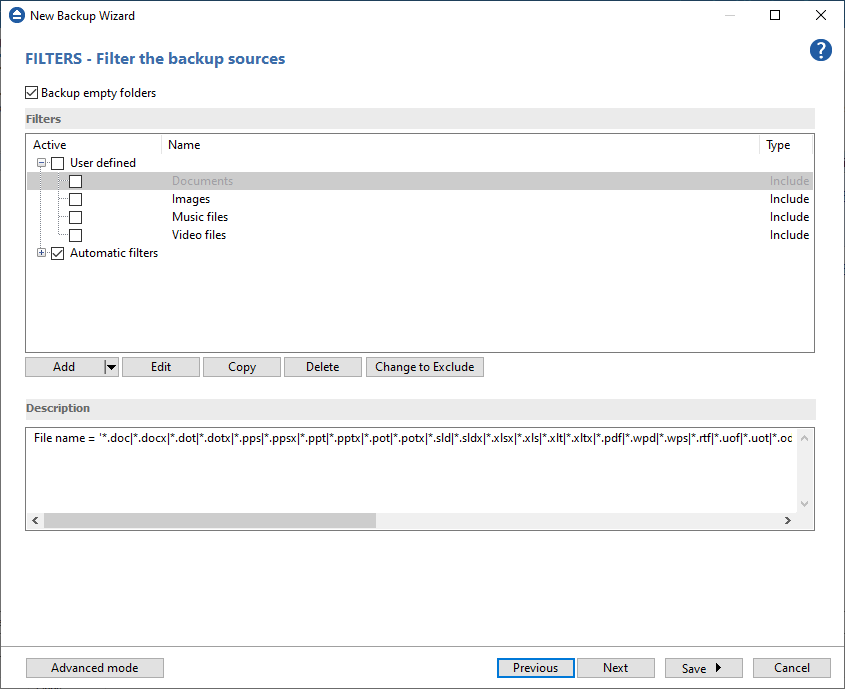
- On the Filter the backup sources page, you can set include/exclude filters for backup sources. Then press Next.
![New backup wizard - Step 3 New backup wizard - Step 3]()
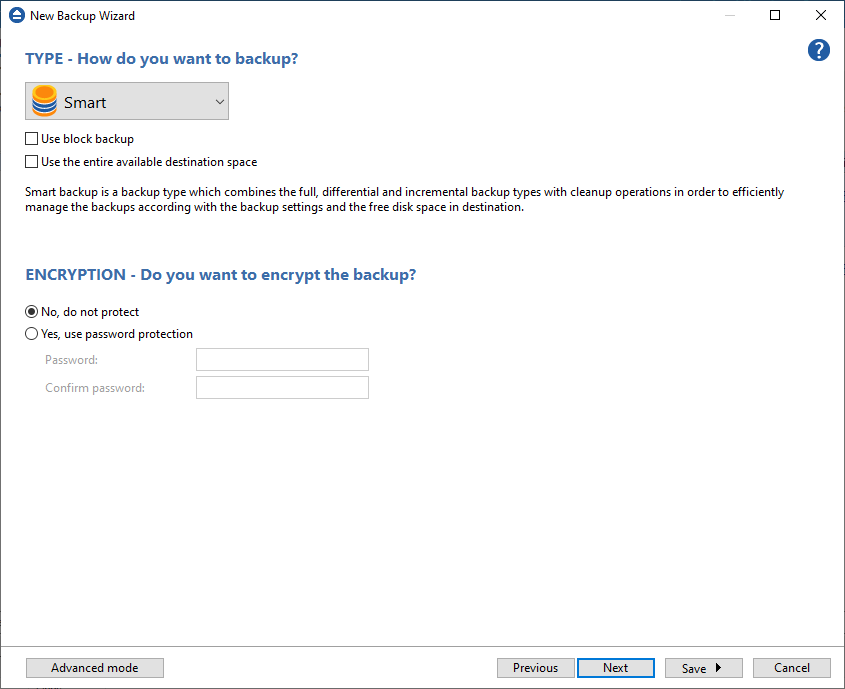
- On the How do you want to backup page, you can choose the backup type and the encryption.
![New backup wizard - Step 4 New backup wizard - Step 4]()
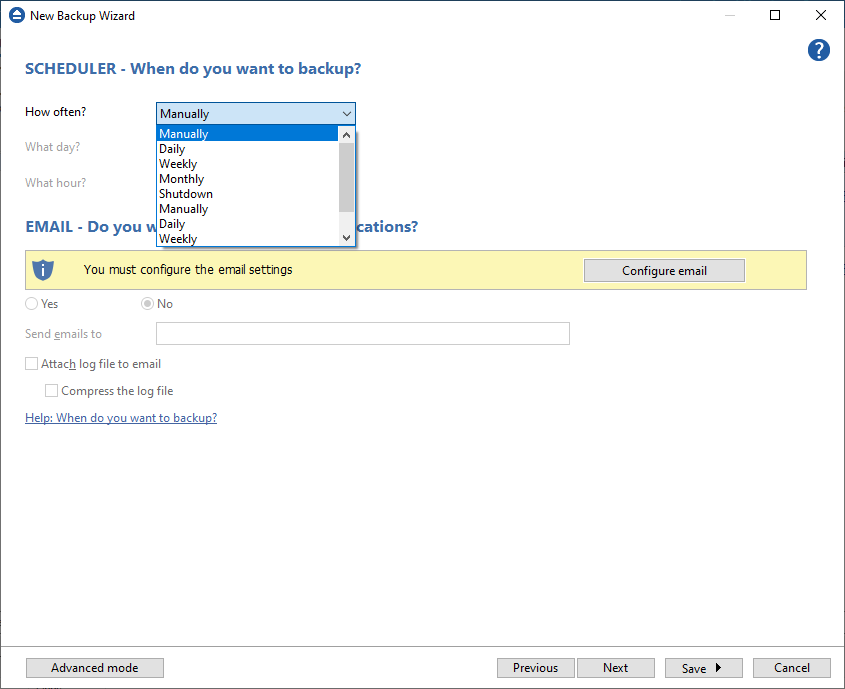
- On the When do you want to backup page, you can set the backup job to automatically run on the specified time and days. Press Next.
![New backup wizard - Step 5 New backup wizard - Step 5]()
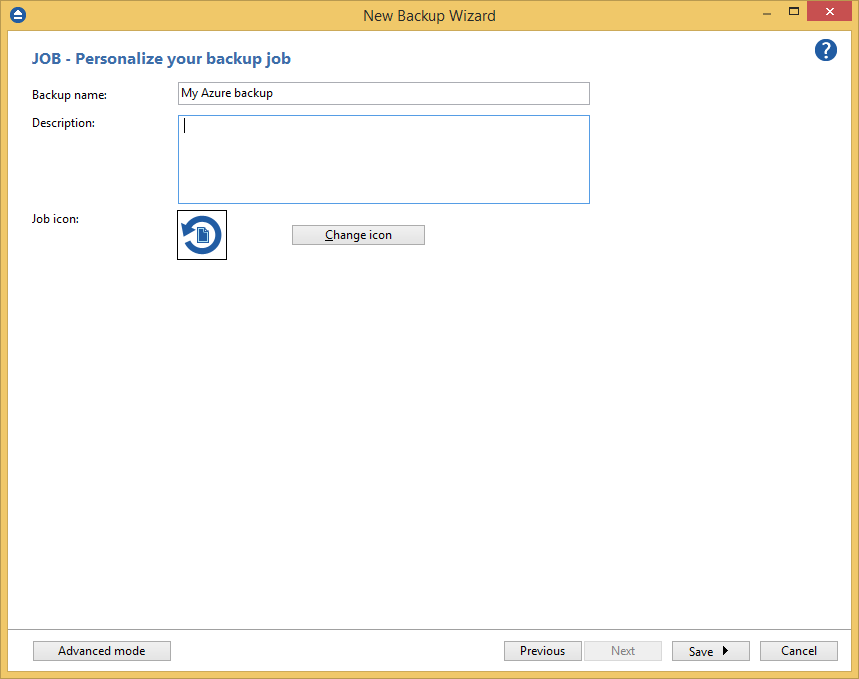
- On the Personalize your backup job page, enter a name for the backup in the Backup name field. Then simply press Save -> Save and run to run the backup job.
![New backup wizard - Step 6 New backup wizard - Step 6]()
This article explains how you can back-up files from Microsoft Azure, meaning having the source of the backup in the cloud. If you are looking on how to back-up your data TO Microsoft Azure (i.e. having it as a backup destination), you can read more here: How to Backup to Azure


